Hello Engineers!
Today we are talking about Professional 3D Printing and Rapid Prototyping. And we do it using a rainwater conveyor that we 3D printed with MJF technology, using Nylon PA12 as material in TOP mode. The project was born from an idea of one of our employee, Stefano: a custom-made conveyor to collect rainwater and water his garden without having to use running water.
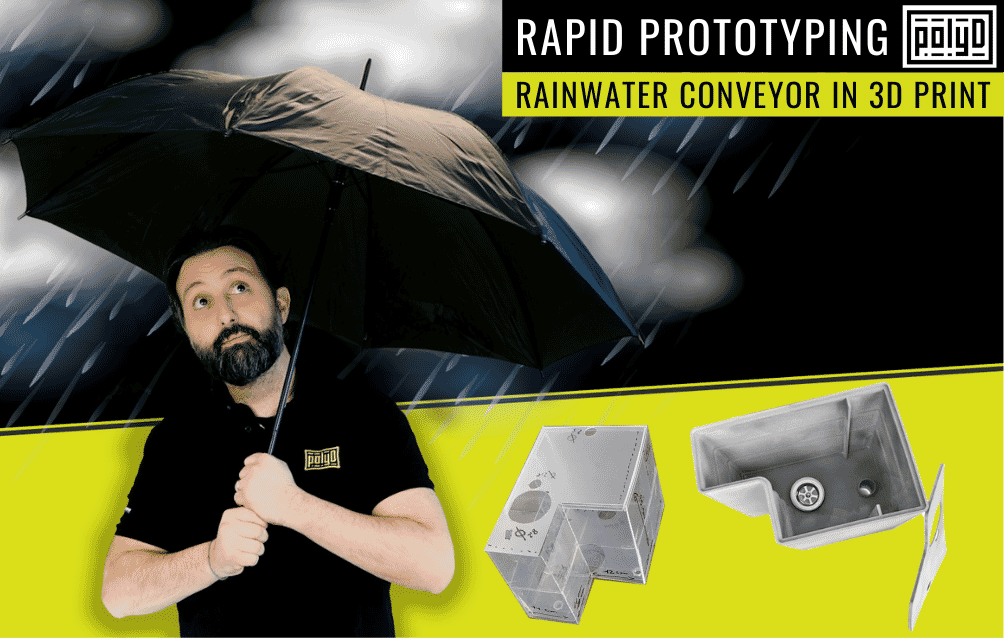
Rapid Prototyping in 3D Printing: the case of the conveyor
MJF 3D Printing Rapid Prototyping allows engineers like you, industrial planners and designers to turn ideas into designs and then into prototypes. This is all about the techniques you use to easily and cost-effectively build scale models or parts or components using 3D design software.
In this video we show you an example of Rapid Prototyping, from the development of the idea to the subsequent stages:
- Rapid Prototyping and Design;
- Design of the STL file;
- MJF 3D printing of the Prototype;
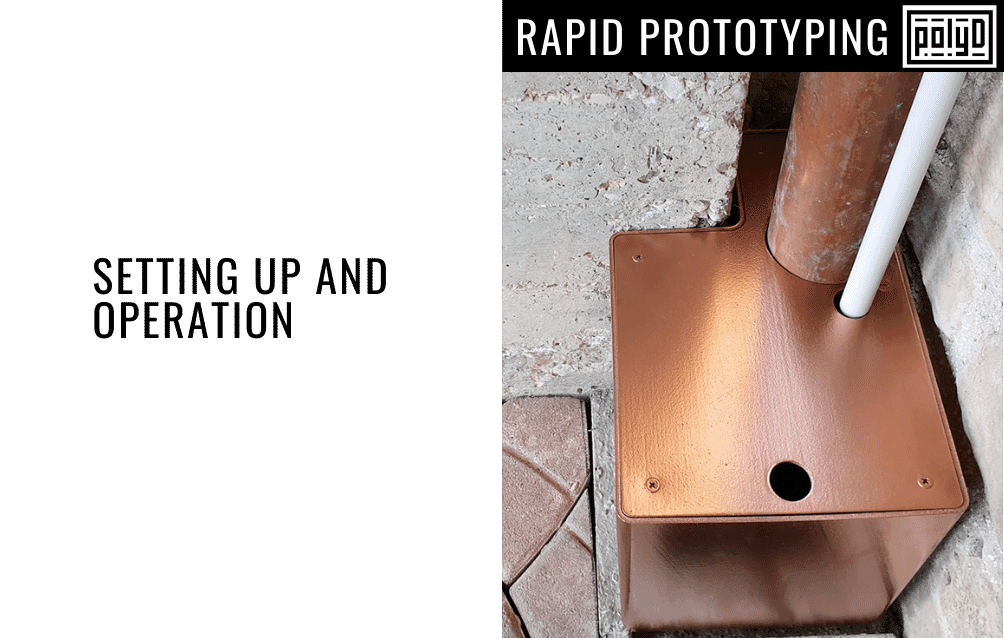
- Setting up and Operation.
1. Rapid Prototyping and Design
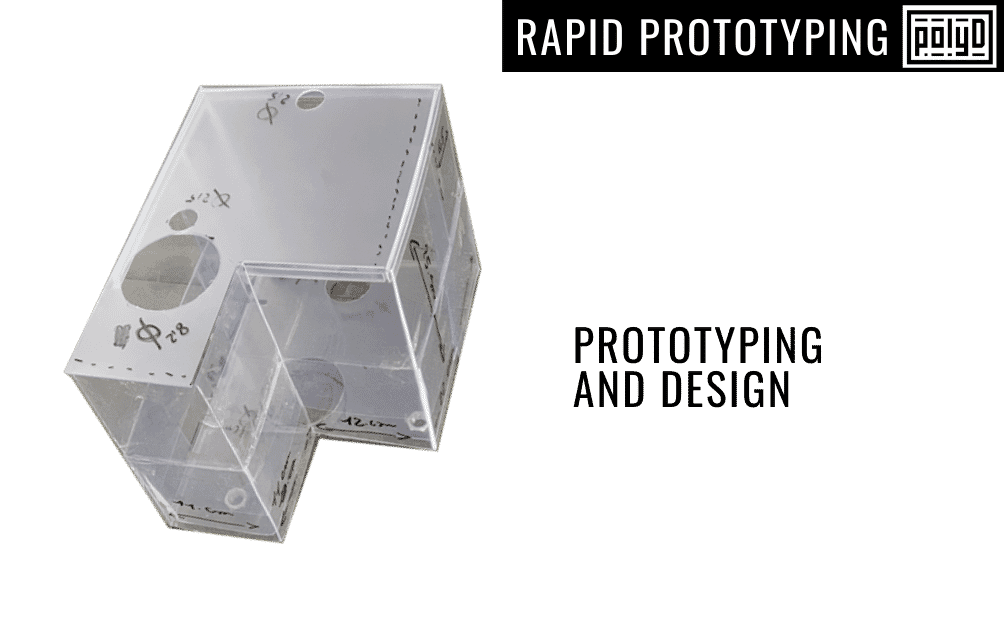
The first step in Rapid Prototyping is to address Design. Prototype Design is the process of transforming a concept, an idea that could solve a problem, into an original model that performs that function. Prototyping allows you to explore ideas, technologies, make decisions and make improvements.
Rapid Prototyping can be done in any way: drawings on paper, remediated material, software, etc. In this case, the provisional prototype created by Stefano using sheets of PVC cut and glued together served to clarify the operation to him and to bring the draft design to our technicians. In other situations, it is enough to generate the STL file directly, based on the measurements taken.
2. Designing the STL file
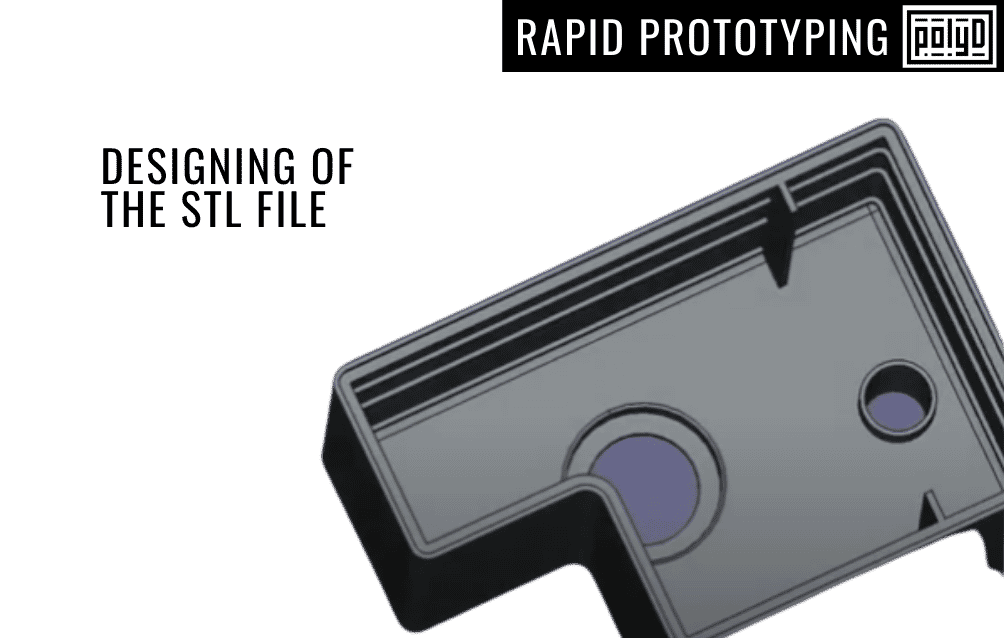
Starting from the Prototype, we proceeded to the creation of the STL file (StereoLithography), the preferred standard file type for 3D printing, which represents an object in 3 dimensions.
To do this, we used FreeCAD, a very structured 3D cad that comes close to much more expensive 3D modellers. This software is free and can be downloaded from their website. If you would like more information on 3D modelling sites, you can learn more about them by reading our blog article.
One design detail we would like to focus on is the addition of ribs inside the box, the function of which is to minimise the deformation of the flat surfaces and ensure greater rigidity of the walls.
3. 3D printing of the Prototype
The Industrial Prototype is the original piece, the first one, the one that will then inspire reproduction in small series or in scale. It is a rudimentary sample, a simulation, a model. It is 3D printed to make an idea work and then perfected with subsequent prototypes or final production.
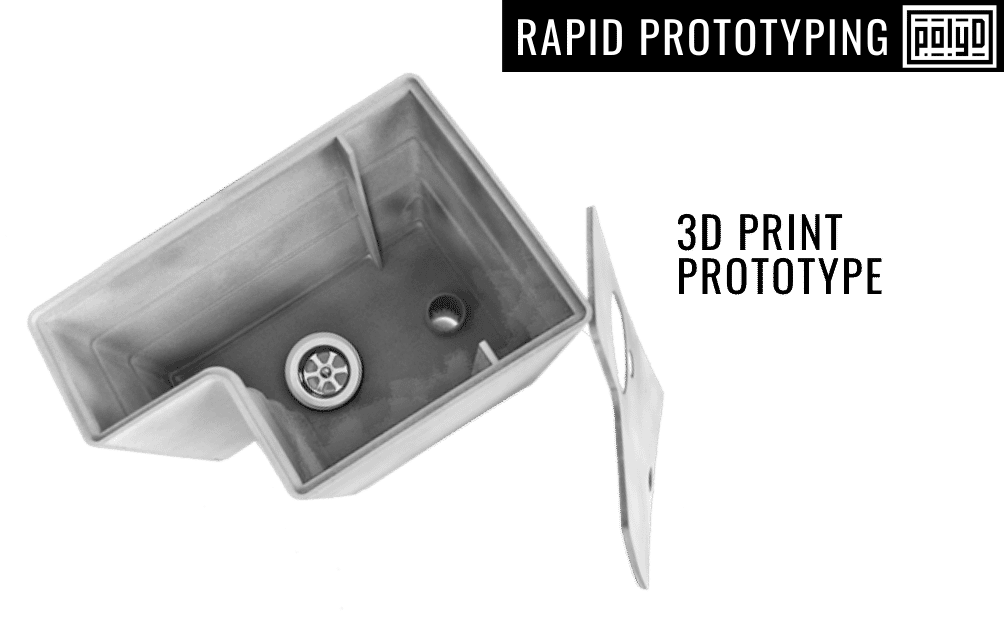
The Conveyor was 3D printed using PA12 in TOP mode and sandblasted. The material has IT67 Certification and is suitable for contact with running water. Below is the final result.
4. Commissioning and Operation
It is now time to see the conveyor in action and explain the water collection process.
The conveyor collects rainwater from the gutter. Until the largest drain is closed by the plug, the water is dispersed into the sewer system. Once closed, the water is conveyed into the other drain which, as you can also see from the video or the picture above, has slightly raised edges compared to the previous one. This detail avoids that, when both drains are open, the water falls inside the first drain; in fact the first drain is at the same level as the bottom of the conveyor.
From the Conveyor the water is conveyed to the sump, where there is a pump which, when activated, brings the water directly into the 4 barrels used for collection. Stefano then wanted to give his Conveyor a touch of originality and used a waterproof bronze paint to cover it.
3D Printing is the fastest, easiest and cheapest way to turn your ideas into Parts, Components, Prototypes and allows you to create, test and modify/adapt them to real production needs. If you are thinking of working on Rapid Prototyping 3D Printing projects try our Online Quote or contact us.
Happy 3D Printing!


