Hello Engineers!
Today we are talking about NesteD Build, the ability to print multiple parts at the same time. NesteD Build allows you to maximise the production cost of objects that are different in quantity, size and shape. Are you there?
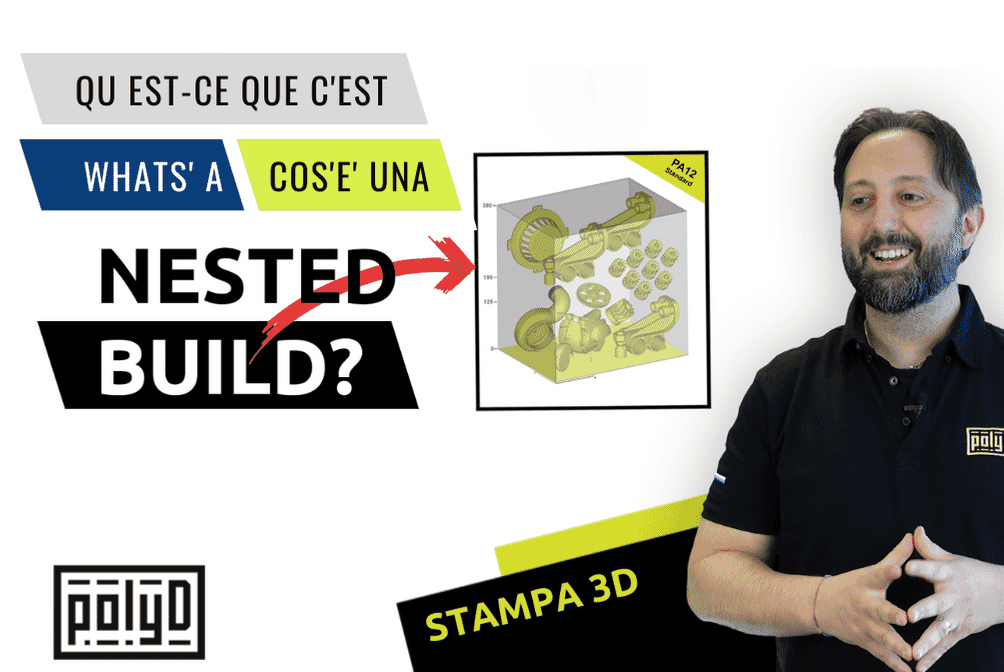
Nested Build: Optimise costs with 3D Nesting Software
Nesting or Packing
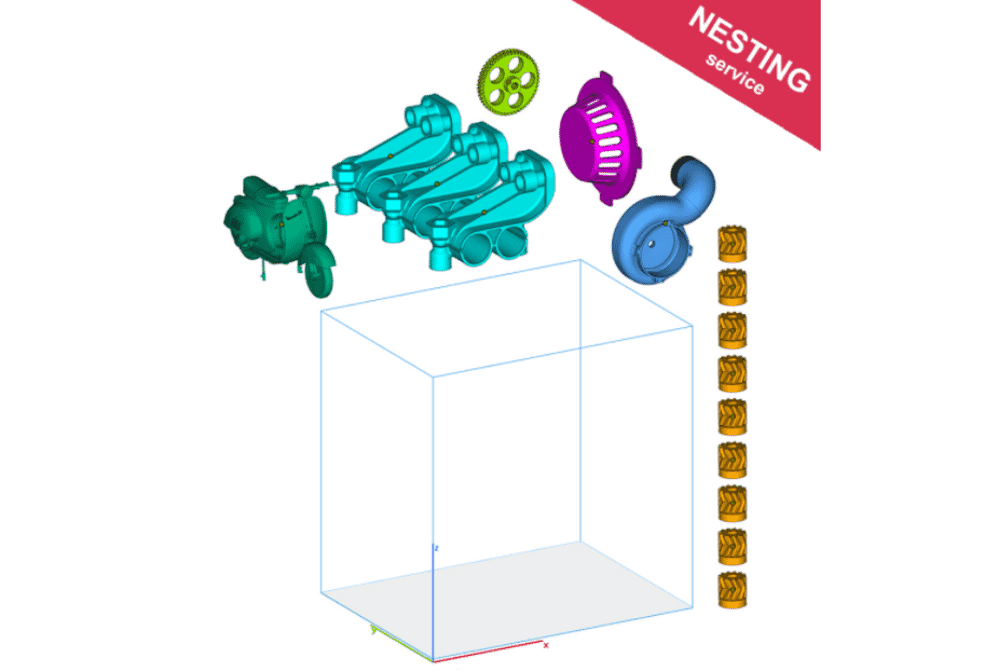
Nesting or Packing are synonymous and both describe the process of grouping multiple parts (ordering, orienting and arranging them in 3D space) with the aim of maximising their combined volume. Bounding box nesting starts with the x, y and z values and constructs a three-dimensional "box" of defined dimensions in which several objects are nested.
This technique - called NesteD Build in jargon - optimises costs and printing time and is only possible when using powder bed 3D printing technologies, such as MJF 3D printing. It is most commonly used with Nylon PA12, which is printed in 3 different modes: Nylon PA12 Fast, Nylon PA12 Standard, Nylon PA12 Top Mechanical.
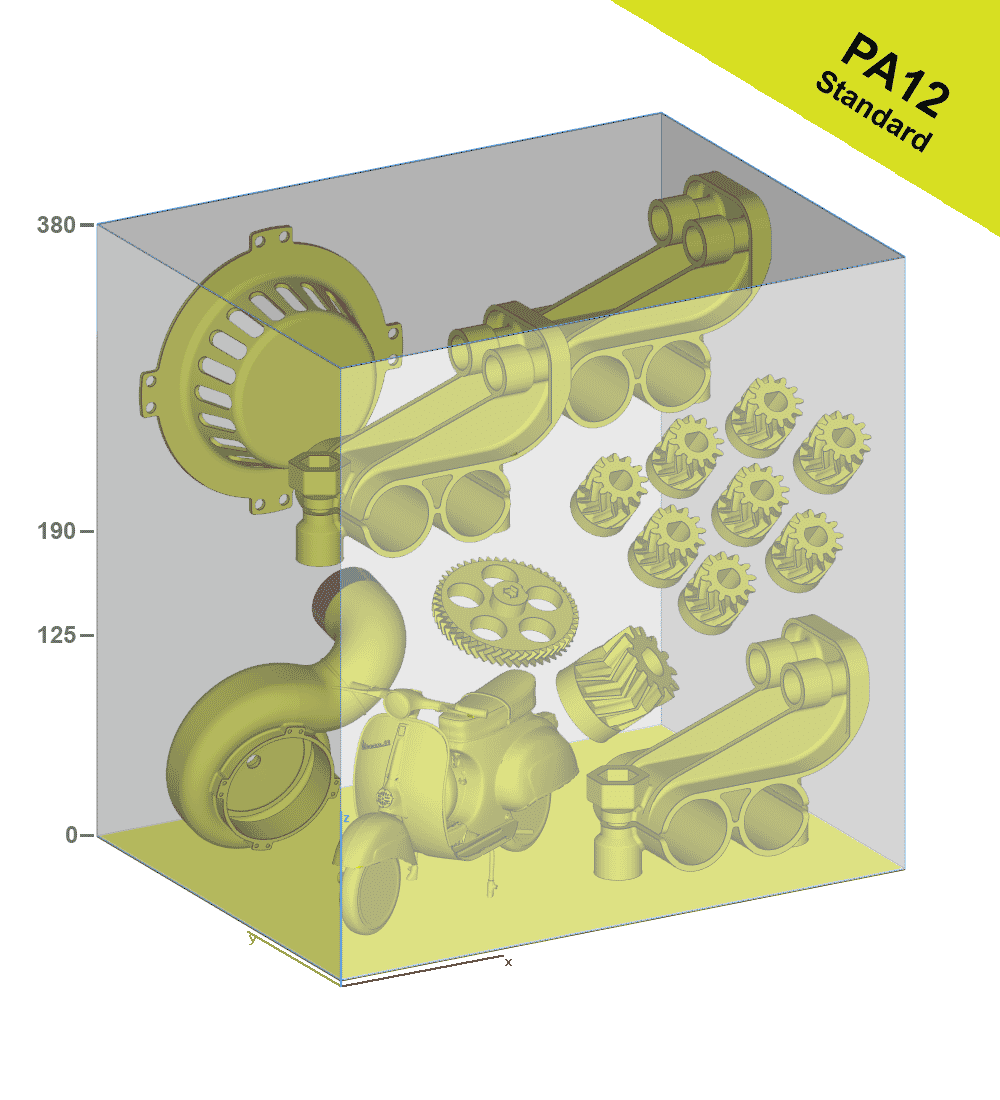
The production cost of a Nested Build is fixed; it does not depend on the quantity of objects contained within, but on their combined volume. Inside it we can nest together
- different objects, even complex ones, which fit into each other's void spaces;
- multiple units of the same part, in order to organise series production.
What are the advantages of using Nested Build?
Nesting allows you to make more effective and efficient use of the 3D printing space to produce multiple parts:
- effective, because in the same volume you insert more Parts (beware of possible printing errors);
- efficient, because you optimise production costs. If we generalise and consider an average saving, nested components can save up to 60% compared to printing them individually. Optimisation only occurs if the bounding box volume of the Nested Build is less than the sum of the volumes of the individual parts.
There are nesting softwares for building, grouping and manipulating the 3D file arrangement automatically, such as Materialise Magics, Autodesk Netfabb and Fabpilot. If you know of others, please let us know!
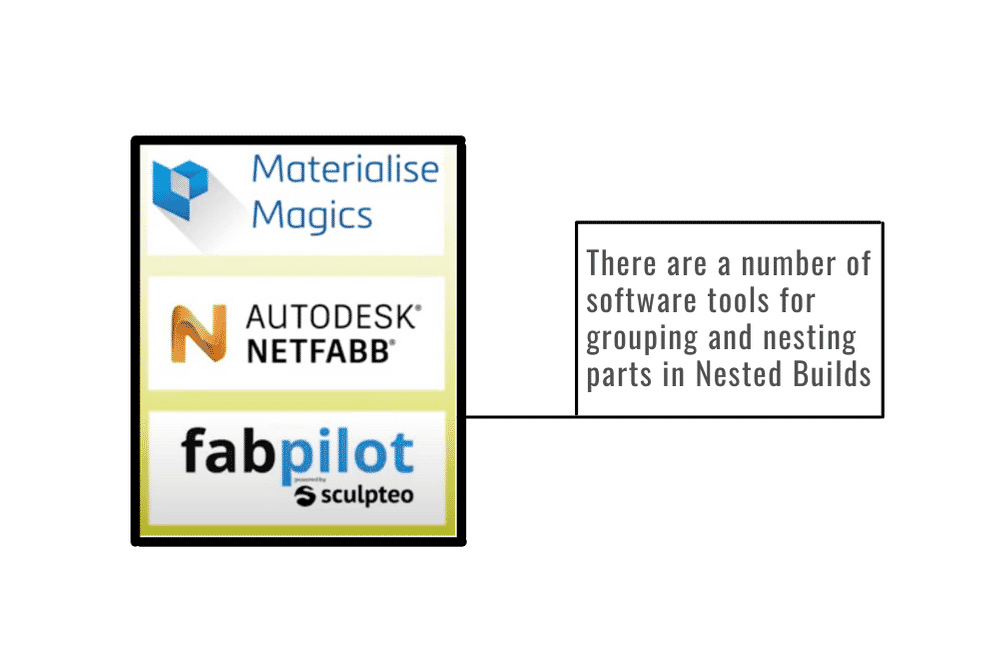
If you have one of these softwares (or others that perform the same task), the guidelines to follow for combining objects are the same as for normal single piece 3D printing. To set up your Nested Build you will need files in STL, Step, or STP format.
Inserting parts into a 3D volume is not straightforward.
Mistakes in printing and Nested Build Software
Watch out for a few mistakes in printing and Nested Build software. Let's start with the SOFTWARE ones:
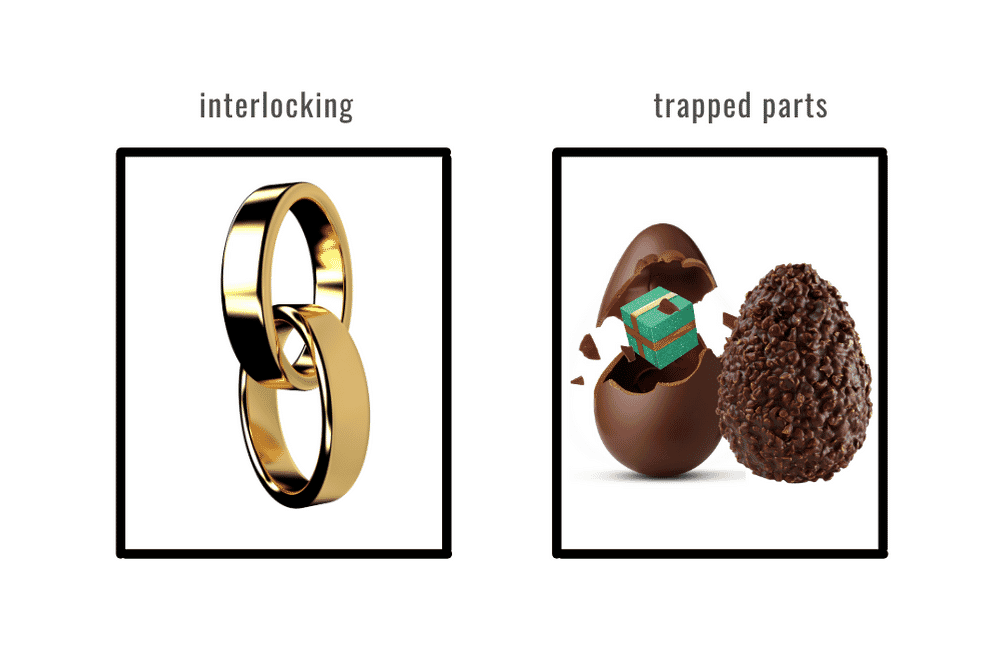
- attention to interlocking: it happens when the software does not respect the structure of ring shapes and the objects intersect, making them unusable;
- trapped parts: these are components that can become trapped in others. If we use the example of the Easter egg, you would find yourself with an Easter egg with a surprise, but unable to take the surprise.
As far as PRINTING is concerned, first of all you can put more parts inside the print volume of the Nested Build, which in the case of PolyD is with a base of 380 x 284 mm and a variable Z-axis height of 380 mm, 190 mm or 125 mm.
Printed objects will have the best quality, tolerance, aesthetics and repeatability if you follow a few simple steps:
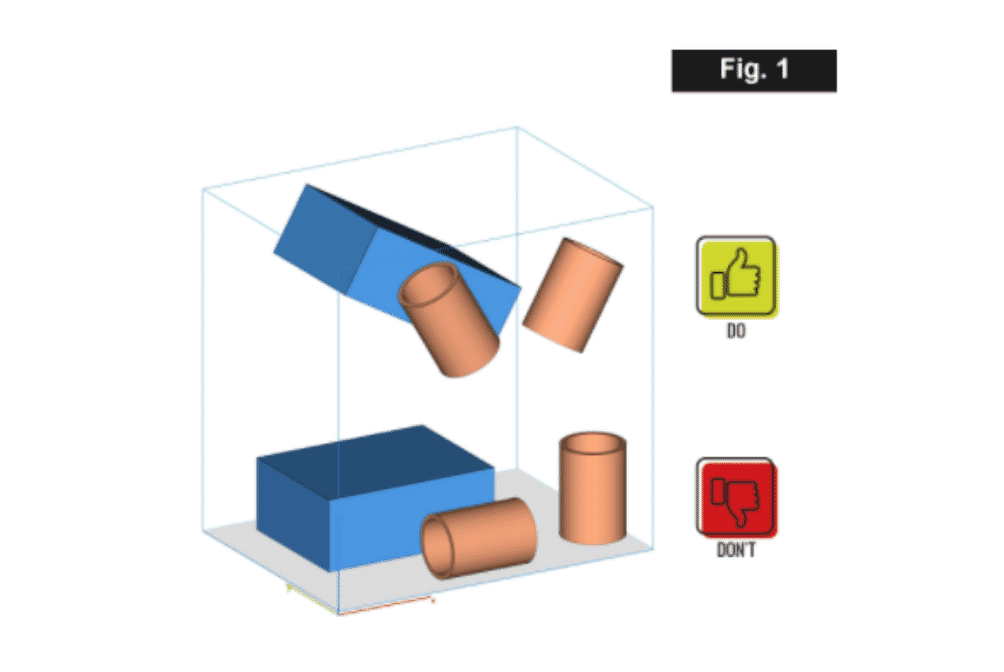
1. Orientation of objects in relation to the X-Y plane (Fig.1)
- A good orientation increases the aesthetic quality of the objects and in some cases also the dimensional accuracy.
- Following the guidelines suggested by the manufacturer HP together with our experience in the field, we recommend you to tilt the objects where possible by 25° in X and/or 25° in Y to obtain a better tolerance and surface finish.
- To limit ovality of cylindrical objects, we recommend positioning them as suggested in (Fig.1).
- One face of your object will always have a nicer finish than the others and is the one that is oriented downwards when printing.
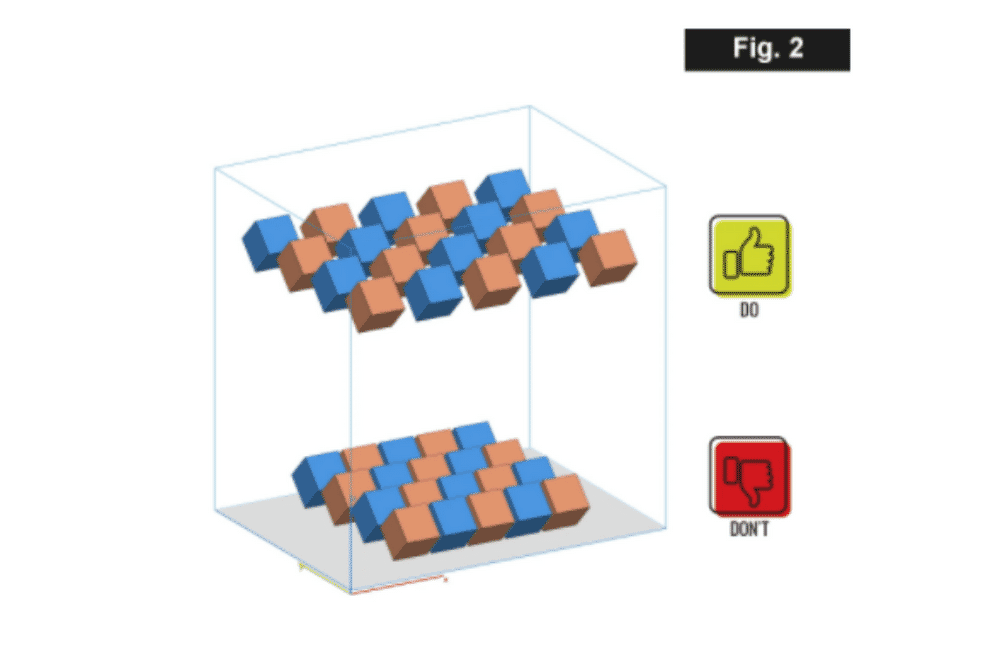
2. Distancing the objects (Fig.2)
- Parts larger than 100cm³ should be spaced at least 10mm apart.
- Parts smaller than 100cm³ should be spaced at least 4mm apart.
- Objects with volumes 20% larger than their bounding box should be spaced at least 10mm apart.
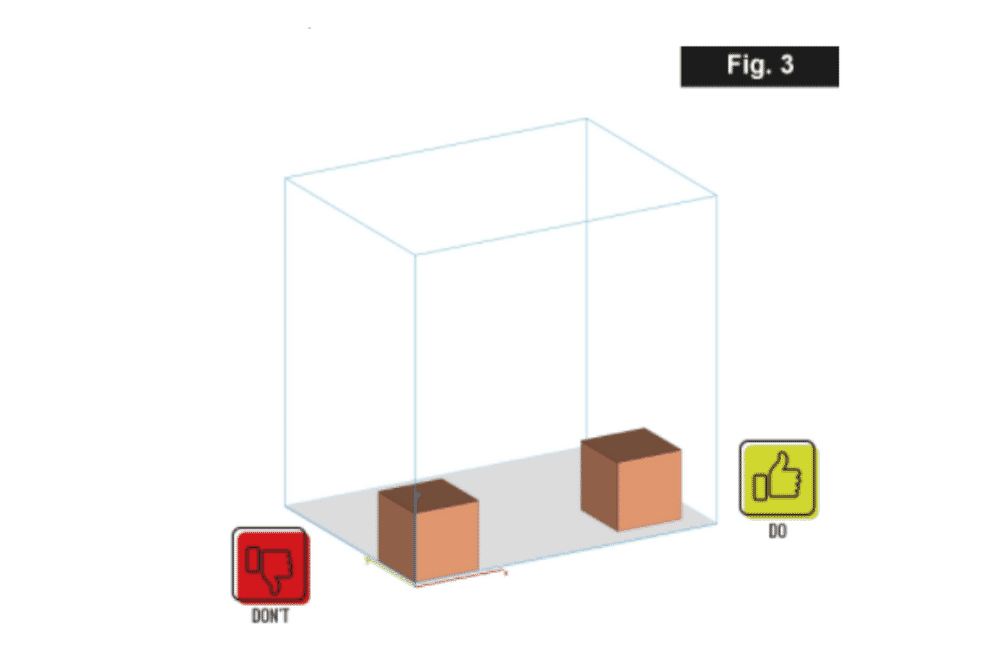
3. X-Y plane margins (Fig.3)
All parts must be spaced at least 5mm away from the outer edges of the print bed, so the actual X-Y dimensions of the print bed will be 370 x 274mm.
4. Uneven distribution of objects (Fig.4)
Distribute the objects so that the printing areas of their Z-slices are as homogeneous as possible, this facilitates the absorption of heat over the entire surface and avoids critical areas. Let me explain, for the same radiation, printed areas with smaller sections receive much more energy than areas with higher density. This situation could generate objects within the same build with different characteristics, mechanical tolerances and aesthetics.

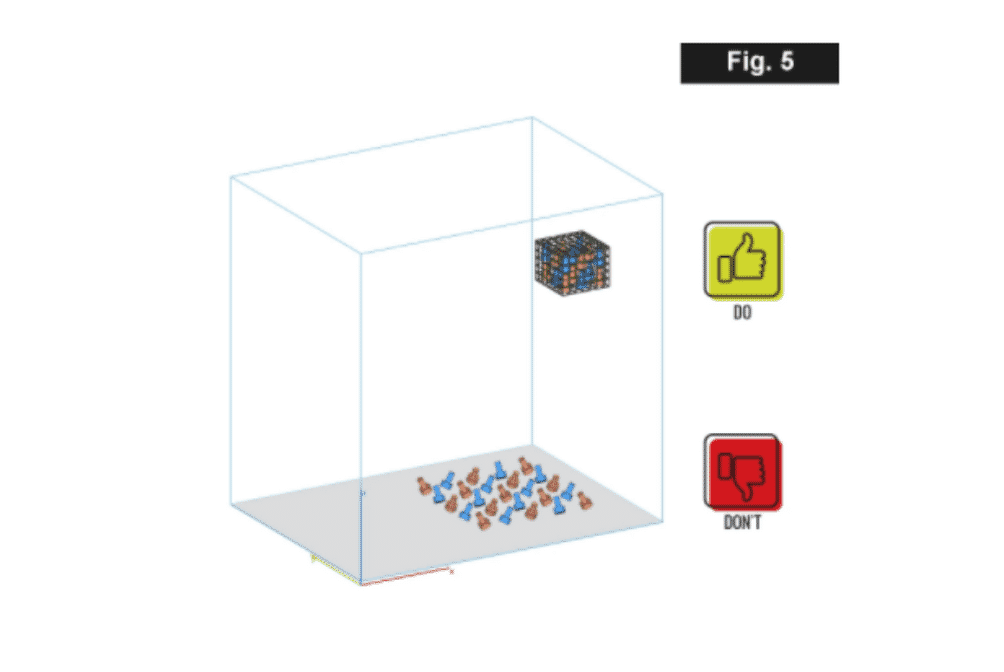
5. Containment of small objects by Sinterbox (Fig.5)
All objects smaller than 1cm³ or with 2 or more sides less than 10mm in size must be enclosed in containment cages. These should be of a mesh size to contain the objects, so that they are not lost or mislaid during subsequent cleaning, blasting and staining.
Notes:
- Attention to empty spaces: The free spaces between objects are filled with powder. If there is not enough space, the UV light of the MJF technology can melt the free powder. It is therefore necessary to keep a minimum distance between the parts (conn PolyD is 2 mm) to avoid melting the objects together when printing;
- Pay attention to changes on the surface to avoid phenomena such as curling (unwanted thermal shrinkage that pulls the outer edges of one part towards the other, generating collisions);
We process thousands of pieces every month.
If you do not have an Automatic Nesting software, you can ask us to do it for you by purchasing the PolyD Nesting Service.
We will check the density of your pieces, check for errors and tell you the height and number of NesteD Builds to order.
Because we are driven by the goal of making the best 3D printing possible for our customers, we will refund the cost of the nesting service on the first purchase of a NesteD Build!
Happy 3D Printing!
