Hello Engineers!
Today's episode is the third part of our mini series dedicated to Professional 3D Printing with MJF Technology.
In the previous video we covered the main topic, i.e. the actual Industrial 3D printing phase, with all the specifics of the fusing agents, detailing agents and devices involved in the process.
Here are the links to the previous episodes for more in-depth information:
Today I want to talk about the part, or rather the parts, immediately following the printing process.

MJF 3D Printing: Cooling, Unpacking and Blasting Phases
In the previous episode we left the Build with the printing process just finished. Once the print is complete, the next stages of cooling, unpacking and sandblasting begin.
Cooling
The Build Unit is removed and cooling begins. Builds can be cooled by two processes:
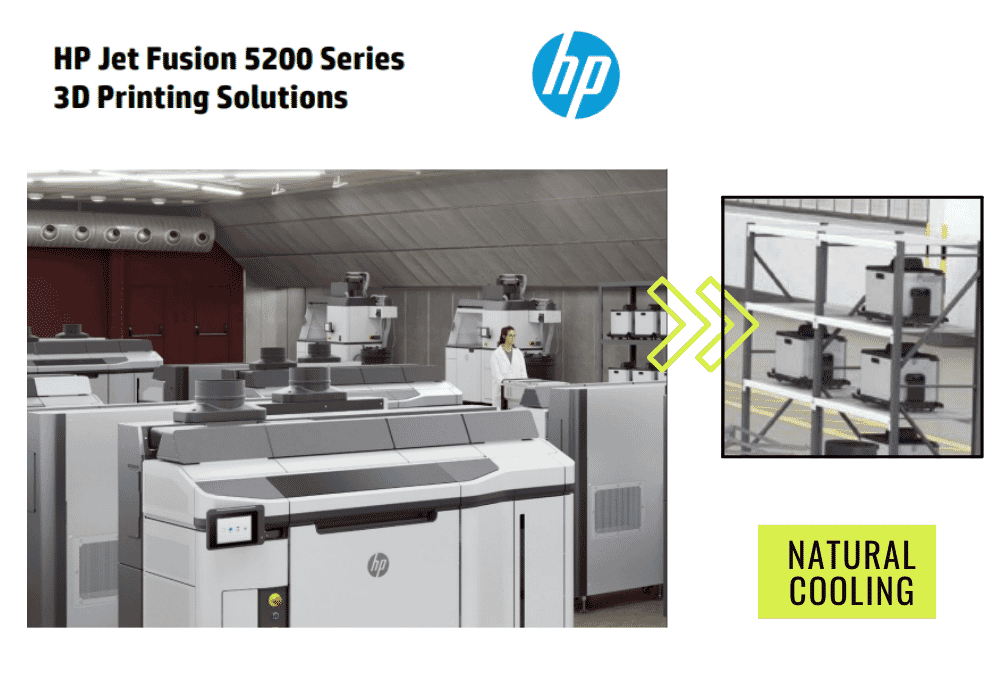
- Natural Cooling, with 48 hours of standing time;
- Fast Cooling, performed directly in the Processing station, with 10 hours of standing time.
Fast Cooling generates forced cooling by sucking in hot air at the top of the build and simultaneously introducing fresh air at the bottom. This process, which lasts an average of 10 hours, could emphasise certain criticalities such as the deformation of flat surfaces and the weakening of the mechanical characteristics of the material.
We at PolyD have always chosen to use natural cooling through Natural Cooling units with 48 hours of stationary time, to obtain the best mechanical and aesthetic results from the parts, minimising bending and deformation, which is possible with the Fast Cooling method.
 Unpacking
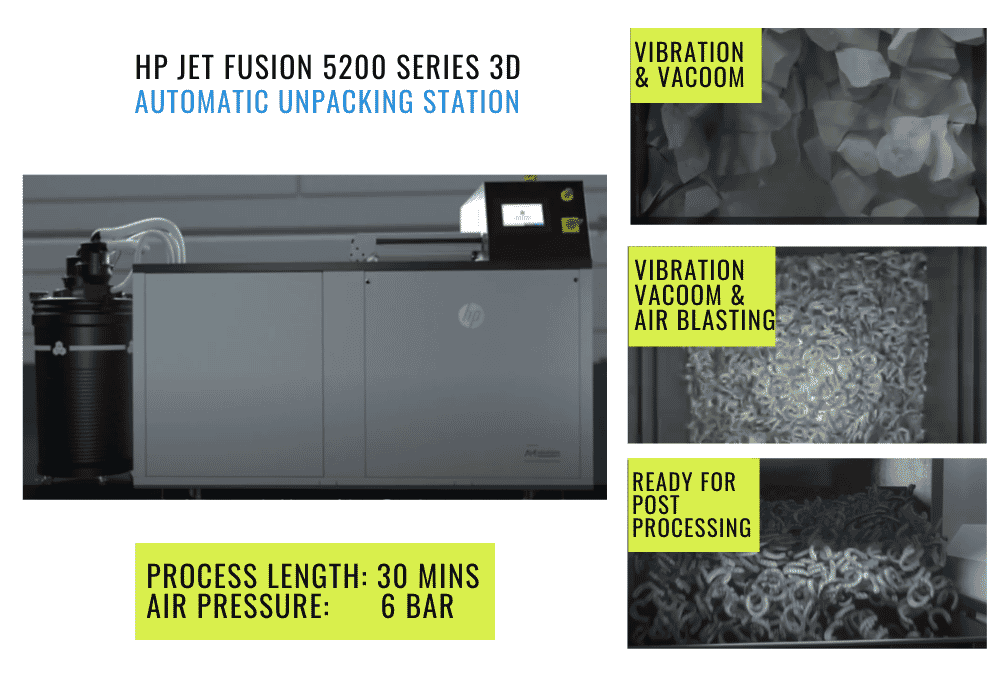
After 48 hours of cooling, a Build is ready to be unpacked manually, inside the Processing Station, simulating an archaeological excavation, or through a device called Automatic Unpacking Station, which, through a mix of vibrations and compressed air, removes the unmelted dust from the pieces, and then sucks it up for subsequent reuse.

Sandblasting
Unpacking, whether manual or automatic, removes most of the excess unmelted powder. However, a final step, sandblasting, is necessary to completely remove the thin layer of dust adhering to the object at all points.
As an abrasive for sandblasting, we at PolyD use glass beads with diameters ranging from 70 to 110 µm (microns); this allows us to achieve the best cleaning result on the workpieces, while still guaranteeing the integrity of the surfaces.
We are now at the end of the third installment on 3D Printing with MJF.
In the next episode we will take a closer look at Colouring and Varnishing, which is the last step in the whole 3D Printing process.
Would you like to try 3D printing with us? 3D Print and Quote Online with us your Parts and Prototypes.
Happy 3D printing!


